Polyurethane foam shrinkage shows up after demolding as a part that no longer fits the mold dimensions, sometimes by only a millimeter, sometimes enough to scrap a batch. In more than two decades of working with foaming lines across footwear, automotive, and synthetic leather production, I have rarely traced a shrinkage problem to a single cause. The usual path is an imbalance among reaction speed, metering accuracy, mold temperature, and demold timing. This article walks through the causes of shrinkage in polyurethane foam from the equipment side, because that is where production managers can make the fastest correction and the most controllable return.
Shrinkage starts with a gelling and blowing imbalance
Polyurethane foam expands because gas generation and polymer network formation happen at the same time. If the blowing reaction runs ahead of gelling, cell walls stretch while they are still weak, rupture, and the foam collapses before it can hold a shape. If gelling runs ahead of blowing, the polymer hardens before gas fully expands. The part may look acceptable at demolding but later contracts as trapped pressure dissipates and the warm polymer cools. The correction is not the same for both. A collapse calls for catalyst balance, mixing quality, and surfactant review. Late shrinkage calls for cure completeness, pack factor, and cooling control. Recording cream time, gel time, and rise time for every trial is the first step, because those three points reveal which side of the reaction moved.
Metering errors turn small ratio shifts into visible shrinkage
Off-ratio pouring changes the isocyanate index before the mold ever sees the mix. When the B-side isocyanate content runs low, the reacting mass contains more unreacted polyol and fewer crosslinks. The resulting network has less mechanical strength while it cools, so the part shrinks more after demolding. In many foam systems, a deviation of one percentage point in component ratio shifts final molded density by more than 3 kg/m³ once pack factor is accounted for. That is enough to turn a dimensionally stable sole into a narrow one after 24 hours.
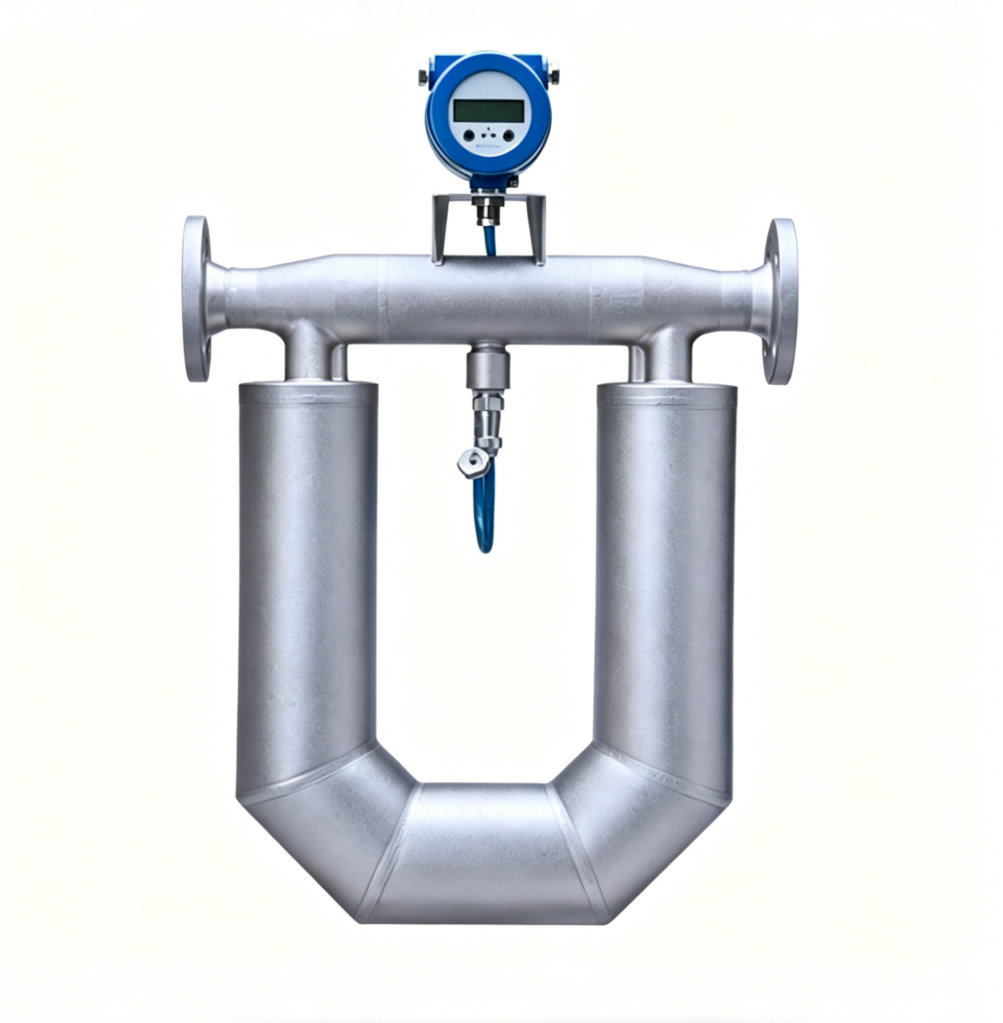
Closed-loop servo metering on a high-pressure machine holds dynamic accuracy within ±0.3 percent across the full output range. That margin disappears quickly when a check valve seeps, a feed pump cavitates, or mixing head pressure drops below the designed curve. I traced a recurring afternoon shrinkage problem on a footwear line to a leaking B-side check valve. The first shots after lunch ran lean, the operator raised the shot timer to restore weight, and late-shift parts shrank after cooling. The formula had not changed. The ratio had.

Mold temperature and demold timing set the final dimensions
Demold timing is a cure decision, not a convenience. A part can feel firm because the skin has cooled while the core is still exothermic and chemically incomplete. When it leaves the mold, the remaining reaction continues, internal gas cools, and the part shrinks toward a smaller equilibrium volume. Low mold temperature creates a similar problem from the outside. The surface freezes early, the center lags, and the finished part carries internal stress that releases as dimensional change over the next day.
| Mold condition | Typical result | Check |
|---|---|---|
| Low mold surface temperature | Thick skin, late center cure, shrinkage after cooling | Compare mold setpoint with surface probe |
| High mold surface temperature | Coarse cells near surface, over-blown mass, density loss | Map temperature across cavities |
| Demold time too short | Part shrinks within hours of release | Record green hardness before demold |
| Pack factor too low | Part fills but ends under-dense after cooling | Compare molded density with free-rise density |
| Uneven mold heating | Warpage and localized shrinkage | Use multiple probes per plate |
If your program involves closed-cell rigid foam with tight dimensional tolerances, it is worth confirming mold temperature uniformity and demold green strength before finalizing your BOM. Send a temperature map and current molded density to info@chinahaifeng.com, and we will check which parameter is limiting the part.
Process variables that weaken the cell structure
Formulation variables act through the cell structure. Low isocyanate index leaves a softer network. Excess moisture in the polyol consumes isocyanate, creates more urea blowing, and can over-expand the foam before it has enough strength to stay open. Low silicone surfactant lets cell windows rupture during rise, and the foam settles. The same shrinkage symptom can therefore come from chemistry, raw material condition, or additive metering, which is why a one-variable-at-a-time trial matters.
| Variable | Shrinkage mechanism | Equipment check |
|---|---|---|
| Low isocyanate index | Weak network from incomplete crosslinking | Metering calibration and flow verification |
| Excess moisture in polyol | Extra urea blowing followed by cell collapse | Vacuum degas level and drum handling |
| Low silicone surfactant | Cell window rupture during rise | Additive pump calibration and mixer condition |
| Catalyst imbalance | Gelling and blowing run out of sequence | Record cream, gel, and rise times |
| Raw material temperature drift | Viscosity shift changes mixing and nucleation | Compare tank setpoint with return-line temperature |
| Poor nucleation | Coarse, irregular cell structure that collapses locally | Mixing head speed and dry air or nitrogen setting |
Water-blown systems add a pressure variable. Carbon dioxide leaves the foam more slowly than it forms, and a part that is skin-sealed too early can trap pressure, then relax later. This is often misread as under-cure shrinkage. The distinguishing sign is timing: trapped-pressure shrinkage appears after several hours, while early green-strength shrinkage usually shows within the first hour.
When to confirm equipment-level causes
I have seen plants chase shrinkage with repeated formulation changes for weeks while the real cause was metering drift or a cold mold circuit. Shrinkage that changes by shift, day, or operator usually points to the line. Shrinkage that stays identical across every shot points to the formula or the pack factor. Both paths need data before the next change.
At Haifeng, we start with metering output, mixing head condition, temperature loops, and the reaction profile record before changing chemistry. That sequence avoids spending raw material trials on a machine that cannot hold ratio.
Send your part number, current molded density, mold temperature, and demold time to info@chinahaifeng.com or WhatsApp 86 13566296633, and we will run a line-level shrinkage review with you.
Buyers ask these questions about polyurethane foam shrinkage
Why does polyurethane foam shrink after demolding even when the mold is filled?
In most cases, the part shrinks because it was demolded before the polymer network had cooled and cured enough to contain the gas volume trapped in the cells. A full mold does not mean a finished cure. The center can remain exothermic and soft while the skin is already firm. After release, the remaining reaction continues, the gas cools, and the part contracts toward its smaller equilibrium volume. The fix starts with a longer demold time or a higher post-cure, but only after recording actual part temperature at release.
Does higher molded density always reduce shrinkage?
Higher molded density is the right response only when the part is under-packed. If the shrinkage comes from a weak network, excess moisture, or metering error, adding material simply makes a denser part with the same dimensional instability. The useful test is to compare molded density with free-rise density and correct the pack factor first. If dimensions still drift at the corrected pack factor, the problem is chemical or thermal, not a shortage of foam. More material is only the right response when the original fill was short for the mold volume.
How can I tell whether shrinkage comes from the metering unit or the formulation?
The fastest signal is variation, not the shrinkage itself. Metering problems usually move with time, operator, or machine temperature. Formulation problems tend to be consistent across every shot and every shift. Record the actual A and B flow values from the shot, not just the recipe, and plot molded density and part dimension for at least one shift. If dimensional spread tracks ratio drift, check the metering unit. If dimensions stay tight while all parts shrink by the same amount, spend the next trial on chemistry or cure.
What parameters should be recorded before a shrinkage trial?
On the lines I have supported, the most useful record is a shot log with actual flow, temperatures, and timings, not just the formula sheet. Capture A and B flow rates, mixing head pressure, tank temperatures, mold surface temperature, cream time, gel time, rise time, demold time, and the part weight at release. Add a one-hour and a 24-hour dimensional check. That data separates thermal shrinkage, under-cure shrinkage, and ratio drift without changing any chemistry first.
When should I stop changing the formula and confirm the equipment?
Production teams sometimes treat an equipment review as the last resort, but it usually costs less than another formulation trial. If shrinkage changes with shifts, appears after a head rebuild or a pump change, or persists across several formula adjustments, the next move should be a line-level check of metering, mixing, and mold temperature. Share your current shot log, molded density, and part drawing at info@chinahaifeng.com, and we will confirm which direction is worth testing before you spend more on raw materials.